MyAlgoMate Static IP Setup
Route your MyAlgoMate trading through your dedicated, broker-whitelisted static IP in a few minutes.
Your four values
Every entry below comes from your StaticIP.in dashboard, under an issued IP's details. The host shown
there will look like dc-mum-XXX.staticip.in - the exact number depends on which server your
IP was issued from, so use whatever your dashboard actually shows, not a fixed value. You can enter
either that hostname or the raw IP address in the Proxy IP field - both work identically.
HOST (OR IP)
dc-mum-…(dashboard)
PORT
443
USERNAME
sip_…
PASSWORD
••••••••
Setup steps
- Open MyAlgoMate and go to the Account Details page. Click Update on an account you've already added, or Add New Account for a fresh one.
-
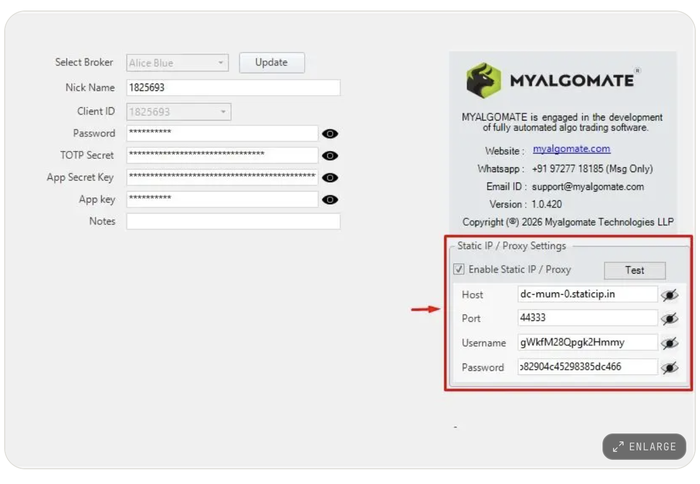
Tick "Enable Static IP / Proxy", then enter the Host, Port, Username, and Password from your StaticIP.in dashboard into the matching fields - exactly as shown, no extra spaces or characters.
 The Static IP / Proxy Settings panel sits on the right side of the Account Details screen, below your broker credentials.
-
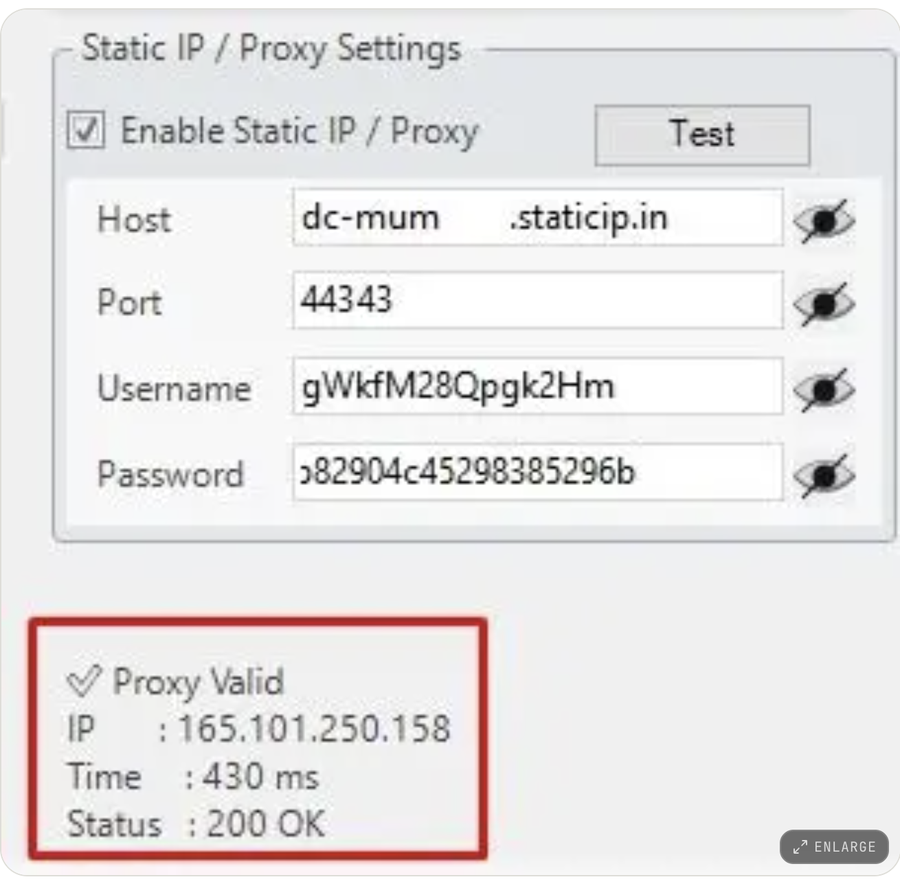
Click Test. A working setup shows "Proxy Valid" along with the IP it connected through, response time, and a 200 OK status.
 A successful test - the IP shown here is what you should whitelist on your broker's API portal.
- Click Update (existing account) or Add (new account) to save.
- Run MyAlgoMate as usual - every order for this account now leaves from your dedicated IP.
If the Test result IP doesn't match what's in your StaticIP.in dashboard, don't whitelist it yet - double-check the Host/Port/Username/Password fields for typos first, then try Test again.
Other tools we have guides for
Don't have a static IP yet?
SEBI-compliant IPv4/IPv6 from ₹100/month. Whitelist-ready in minutes.